Step-by-Step Guide for Expo Template Integration with Backend
1. Extract the Zip Folder
Extract the provided zip folder that contains the Expo template using a file extraction tool like WinRAR or 7-Zip. The folder will contain all the necessary files to set up your mobile app.
2. Install Node.js and Expo CLI
Ensure Node.js is installed from nodejs.org. Once Node.js is installed, install Expo CLI globally:
npm install -g expo-cli
3. Initialize the Expo Project
Open your terminal, navigate to the extracted folder, and run the following commands to start the project:
cd path_to_extracted_folder
    expo start
After starting, you’ll see a QR code to scan with your mobile device.
4. Run the App on Your Mobile Phone
Download the Expo Go app from the Google Play Store or the Apple App Store. Scan the QR code shown in the terminal to preview the app.
5. Connecting to an Existing Backend
To connect the Expo template with your existing backend (built using Express.js, Node.js, etc.), follow these steps:
5.1. Set Up API Endpoints
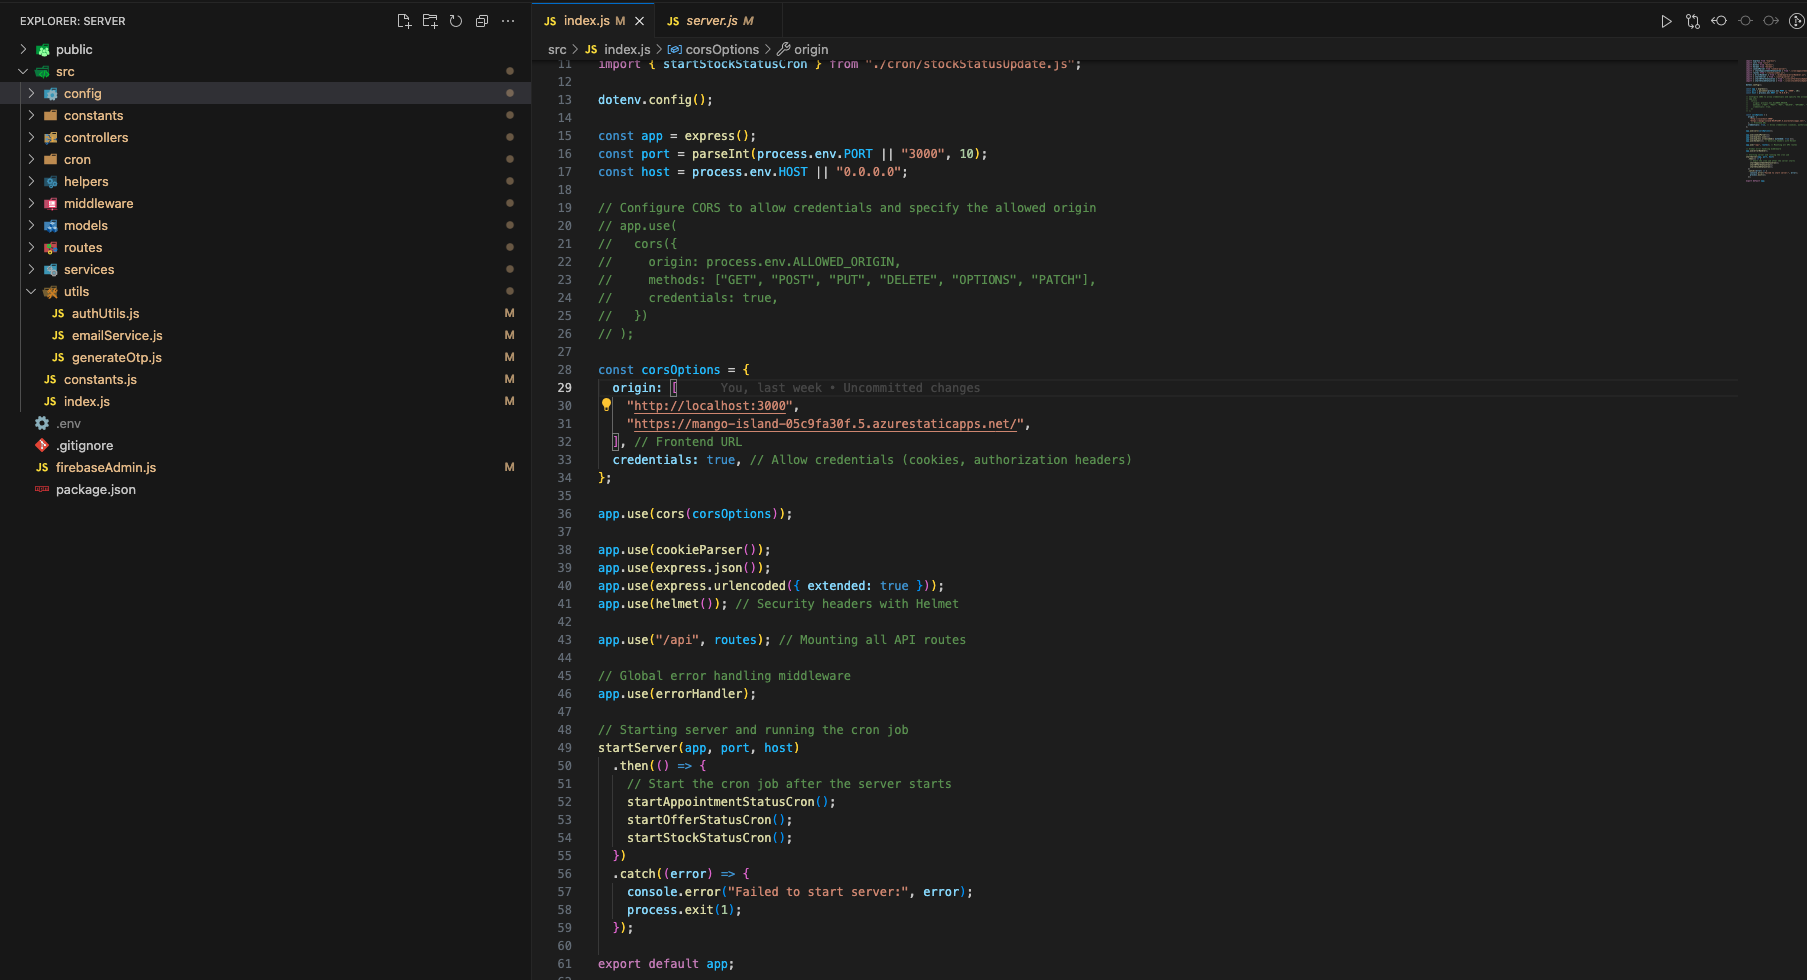
Ensure your backend is hosted and accessible via an API. For local development, use tools like ngrok to expose your local server to the internet.
// Example: Exposing your local backend server via ngrok
    ngrok http 3000
5.2. Configure the API Base URL
In your Expo project, locate the file where API requests are handled (typically in a `services` or `api` folder) and update the base URL to point to your backend. For example, in api.js:
const API_BASE_URL = 'https://your-backend-url.com/api';
If you're using Axios for API calls, configure the base URL as follows:
import axios from 'axios';

    const api = axios.create({
      baseURL: 'https://your-backend-url.com/api',
    });

    export default api;
5.3. Test the API Connection
Make sure the mobile app can successfully communicate with your backend. You can add a simple test request to ensure everything works:
useEffect(() => {
      api.get('/test-endpoint')
        .then(response => console.log('Backend Response:', response))
        .catch(error => console.error('API Error:', error));
    }, []);
6. Customizing the App
Once the app is running and connected to the backend, you can start customizing it by opening the project folder in a code editor like Visual Studio Code. You can edit files like App.js, located in the root folder, and other components in the components directory.
cd path_to_project
    code .
7. Additional Features
To integrate additional features, such as push notifications, camera, or location services, you can use Expo modules:
expo install expo-notifications – For push notifications.expo install expo-camera – For camera functionality.expo install expo-location – For accessing location services.
8. Build and Deploy
Once customization is complete, you can build the app for Android and iOS by running the following commands:
expo build:android
    expo build:ios
For more detailed instructions, visit Expo's official documentation.


